Contrary to popular belief, the goal with a carbon steel knife isn’t to prevent all discoloration; it’s to cultivate a protective blue-grey patina while preventing destructive red rust.
- Red rust (iron oxide) is corrosive and pits the steel, while a stable patina (controlled oxidation) acts as a protective shield against further corrosion.
- Immediate reactions to acids like lemon are part of the “chemical dialogue” with your blade and can be managed with a simple wipe-down protocol.
Recommendation: Instead of fearing your knife, learn its language. Embrace the patina as a sign of a well-used tool and focus your efforts on keeping the blade dry and clean between uses, not on keeping it pristine.
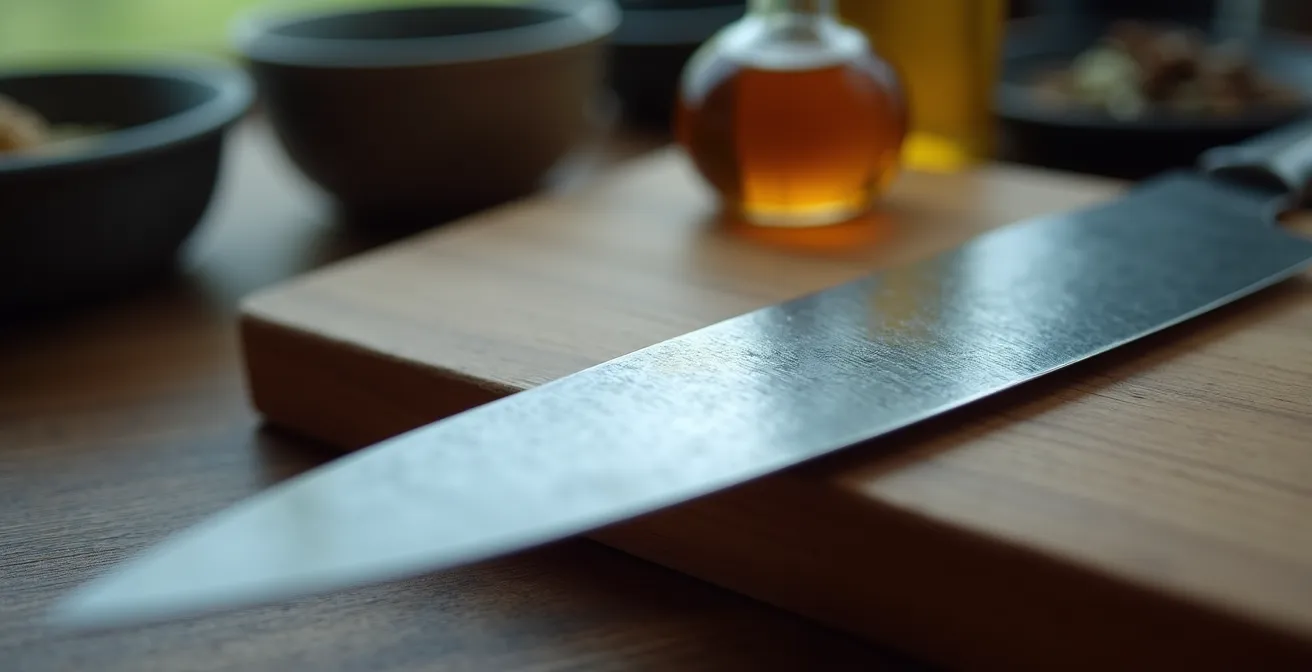
Bringing a high-carbon steel yanagiba into your home kitchen is an investment in unparalleled performance. Its ability to take a screamingly sharp edge and glide through fish for perfect sashimi is legendary. Yet, for many home chefs, this reverence is quickly overshadowed by fear—the fear of a single, misplaced water droplet leading to a bloom of destructive red rust. The common advice is a frantic chorus of “keep it dry” and “oil it constantly,” turning the joy of ownership into a constant, low-grade anxiety. You become scared to use the very tool you bought to elevate your craft.
This fear is rooted in a fundamental misunderstanding of the material. A carbon steel blade isn’t an inert, fragile artifact; it is a piece of living steel. It is designed to react with its environment. This reactivity is not a flaw to be eliminated but a characteristic to be understood and managed. The secret to a lifetime of service from your yanagiba lies not in hermetically sealing it from the world, but in learning to guide its natural processes.
But what if the dark stains that appear after cutting an onion or a lemon weren’t damage, but the beginning of a protective shield? What if you could distinguish, with confidence, the “good” rust from the “bad”? This guide will move beyond the simple platitudes. We will explore the metallurgy of your blade, deciphering the chemical dialogue it has with food and moisture. You will learn to foster a stable, beautiful patina, master the sharpening process that its unique geometry demands, and set up your workspace to make proper care an effortless habit.
This article provides a comprehensive look into the principles and practices of yanagiba care. The following sections will guide you through understanding your blade’s reactions, mastering its maintenance, and using it with the confidence it deserves, transforming fear into a deep and respectful partnership with your tool.
Summary: How to Prevent Rust on Your Carbon-Steel Yanagiba in a Home Kitchen?
- Grey Patina or Red Rust: Which One Is Safe on Your Carbon Blade?
- 1000 or 6000 Grit: Which Stone Gives the ‘Mirror Edge’ for Sashimi?
- Why Does Cutting Lemon Turn Your Carbon Knife Black Instantly?
- Tsubaki Oil: Is It Necessary for Storing Knives Long-Term?
- Why Does a Single-Bevel Knife Steer to the Left When You Cut?
- How to Organize Your Kitchen Counter for Efficient Sushi Making in 5 Steps?
- How to Use the Entire Length of the Blade for Large Slices?
- How Preserving Fish Enhances Umami Before Making Sushi?
Grey Patina or Red Rust: Which One Is Safe on Your Carbon Blade?
The first and most critical lesson in carbon steel care is understanding that not all oxidation is your enemy. The steel wants to react with oxygen; your job is to control that reaction. There are two primary outcomes: the destructive red rust and the protective grey or blue patina. Red rust (ferric oxide) is flaky, porous, and actively eats away at the steel, creating pits that can permanently damage your blade. It is the result of prolonged exposure to moisture and oxygen. In fact, tests show that carbon knives can visibly rust after just 6 minutes of being left wet.
A patina, on the other hand, is a form of stable, non-damaging oxidation (magnetite or other iron oxides) that forms when the blade interacts with milder acids in food, like those in onions, meats, or fish. This thin, hard layer ranges in color from a soft grey to a deep blue or purple, and it acts as a barrier, protecting the raw steel underneath from the more aggressive red rust. Think of it as your knife developing its own unique personality or a protective skin. A blade with a well-formed patina is more resilient and less prone to flash rusting during use. You can either let a patina develop naturally through use or force one to establish a baseline of protection from day one.
Action Plan: How to Force a Protective Patina
- Clean the blade thoroughly with warm, soapy water to remove any factory oils and dry it completely.
- Apply a mild acidic substance to the blade. Instant coffee paste, warm vinegar, or even mustard are common choices.
- Rub the substance gently and evenly across the entire blade surface you wish to treat.
- Let it react for 5-10 minutes, watching for the steel to darken to a uniform grey or black.
- Rinse the blade thoroughly with warm water and polish it completely dry with a clean towel.
This controlled oxidation process gives you a head start in the battle against destructive rust. Knives with textured finishes, like a hammered (tsuchime) surface, have more peaks and valleys for moisture to hide, making a thorough drying process even more critical than on a smooth, polished blade.
1000 or 6000 Grit: Which Stone Gives the ‘Mirror Edge’ for Sashimi?
A yanagiba’s purpose is to make a single, long, clean cut through fish. This requires an edge that is not just sharp, but impeccably smooth. The key to this is understanding the role of different whetstone grits in the sharpening process. A 1000-grit stone is a workhorse; it’s used for establishing the initial bevel and repairing minor chips. It creates an edge with microscopic teeth, or micro-serrations. While very sharp, this “toothy” edge can tear the delicate cell walls of fish on a microscopic level, affecting both texture and appearance.
To achieve the true, glassy-smooth cut required for high-end sashimi, you must progress to much finer grits. A 6000-grit stone begins the polishing process, refining the edge and reducing the size of those micro-serrations. For a yanagiba, however, this is often just an intermediate step. Professional sharpeners agree that single-bevel knives like yanagiba should be finished with grits of #8000 and above. These ultra-fine stones don’t so much cut the steel as they burnish or polish it, creating a flawless, mirror-like edge that parts fish flesh with minimal resistance and cellular damage.
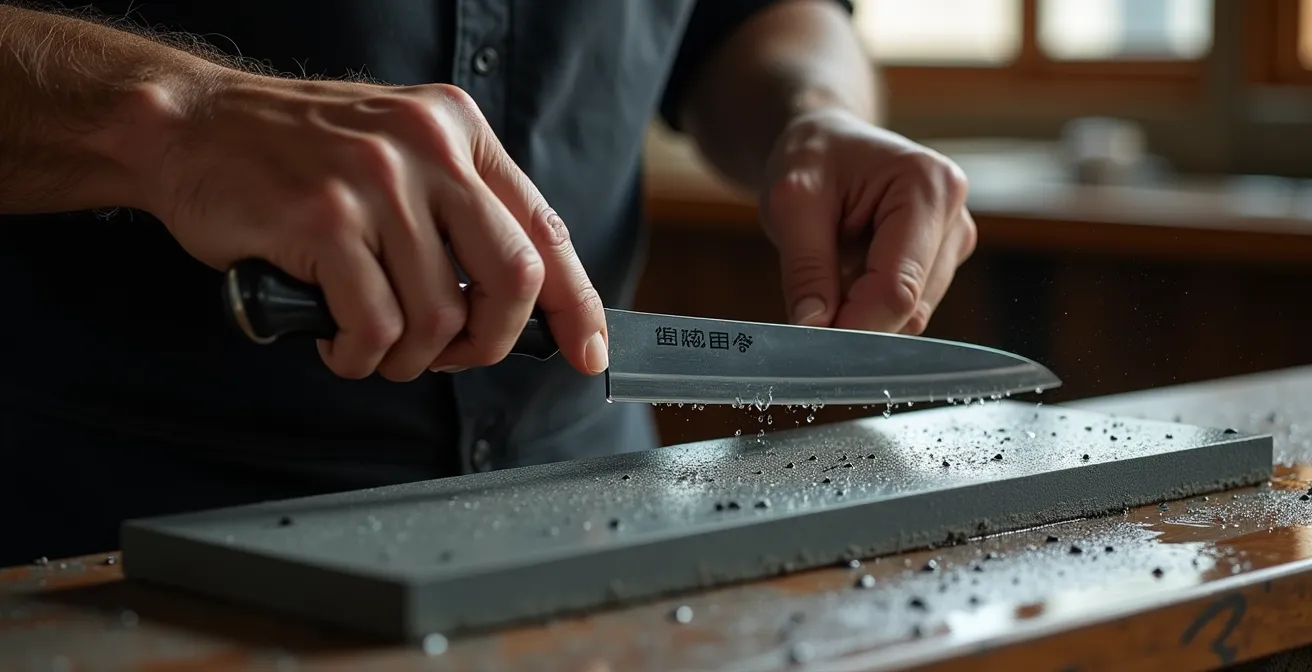
The result of this high-grit polishing is an edge of pure geometry, free of teeth. It glides through protein with almost zero friction, leaving a shiny, un-bruised surface on your sashimi that preserves its delicate texture and flavor. This level of sharpness is a defining characteristic of the yanagiba and is only achievable through a patient progression up the grit scale. It’s a meditative process that connects you directly to the performance of your blade.
Why Does Cutting Lemon Turn Your Carbon Knife Black Instantly?
One of the most alarming experiences for a new carbon steel knife owner is seeing the blade turn a dramatic black after slicing a single lemon. This is not damage; it’s a rapid, intense form of the “chemical dialogue” we’ve discussed. It is the steel speaking to you in its most emphatic voice. Citric acid is a powerful reactant. When it comes into contact with high-carbon steel, it forces a rapid oxidation process, creating a dark layer of ferric tannate or other oxides on the blade’s surface. This is, in essence, an instantly-formed patina.
Different foods have different levels of reactivity with carbon steel. Highly acidic foods like citrus cause an immediate and dramatic color change. Others, like tomatoes or onions, will contribute to a more gradual development of a grey or blue patina over time. Even proteins like fish and meat have a mild reactivity that helps build this protective layer. The key is not to fear this reaction, but to manage it. The “one slice, one wipe” rule, especially with proteins, is not just for cleanliness but also for controlling this chemical dialogue.
The following table illustrates how different common food types interact with carbon steel, giving you a practical guide for what to expect and how to react. This knowledge empowers you to use your knife without fear, knowing that these color changes are a normal and even beneficial part of the process, as long as they are managed correctly.
| Food Type | Reactivity Level | Effect on Blade | Cleaning Protocol |
|---|---|---|---|
| Citrus/Lemon | Very High | Immediate black discoloration | Rinse within 30 seconds, dry immediately |
| Tomatoes | High | Dark patina formation | Wipe between cuts, wash after use |
| Onions/Garlic | Medium-High | Grey-black patina | Normal washing, thorough drying |
| Fish/Meat | Medium | Blue-purple patina | Wipe after each slice (one slice, one wipe rule) |
| Rice/Vegetables | Low | Minimal reaction | Standard cleaning |
When cutting highly acidic foods, the protocol is simple: work efficiently and have a damp cloth ready. Wipe the blade immediately after finishing your cuts, then rinse, dry thoroughly, and re-oil if you are done for the day. This prevents the acid from sitting on the blade long enough to cause any pitting and helps integrate the dark patina into the blade’s overall protective layer.
Tsubaki Oil: Is It Necessary for Storing Knives Long-Term?
Oiling a carbon steel blade is a crucial step for preventing rust during storage, but the type of oil and the frequency of application matter. For daily use, simply washing and drying your knife thoroughly is often sufficient, especially once a stable patina has formed. However, for storage—whether overnight or for several weeks—a protective layer of oil is non-negotiable. This oil creates a hydrophobic barrier that prevents ambient humidity from reaching the steel.
Tsubaki (Camellia) oil is the traditional choice for Japanese tools, prized because it is acid-free, non-toxic, and has a high viscosity that allows it to stay in place. Shops use it to protect knives on display for months at a time. However, is it strictly necessary for the home user? Not necessarily. The most important quality for a protective oil is that it be food-safe and non-drying. Many common cooking oils, like olive or vegetable oil, can polymerize and become gummy or rancid over time, creating a sticky residue that is difficult to clean. As one expert puts it, a different choice may be even better. According to KnifeAid Lead Sharpener, Magnus Pettersson:
Food-grade mineral oil is probably the best [oil] you can use. Many other oils will become like a resin over time and get really, really sticky.
– Magnus Pettersson, GearPatrol
Food-grade mineral oil, often sold as a butcher block or cutting board conditioner, is inexpensive, readily available, and will never become rancid or sticky, making it a perfect modern alternative to traditional Tsubaki oil. For a knife that is used regularly, a light application after washing and drying at the end of the day is sufficient. For long-term storage, apply a slightly more generous coat, wrap the blade in paper (or VCI rust-inhibiting paper for very humid climates), and store it in a dry place.
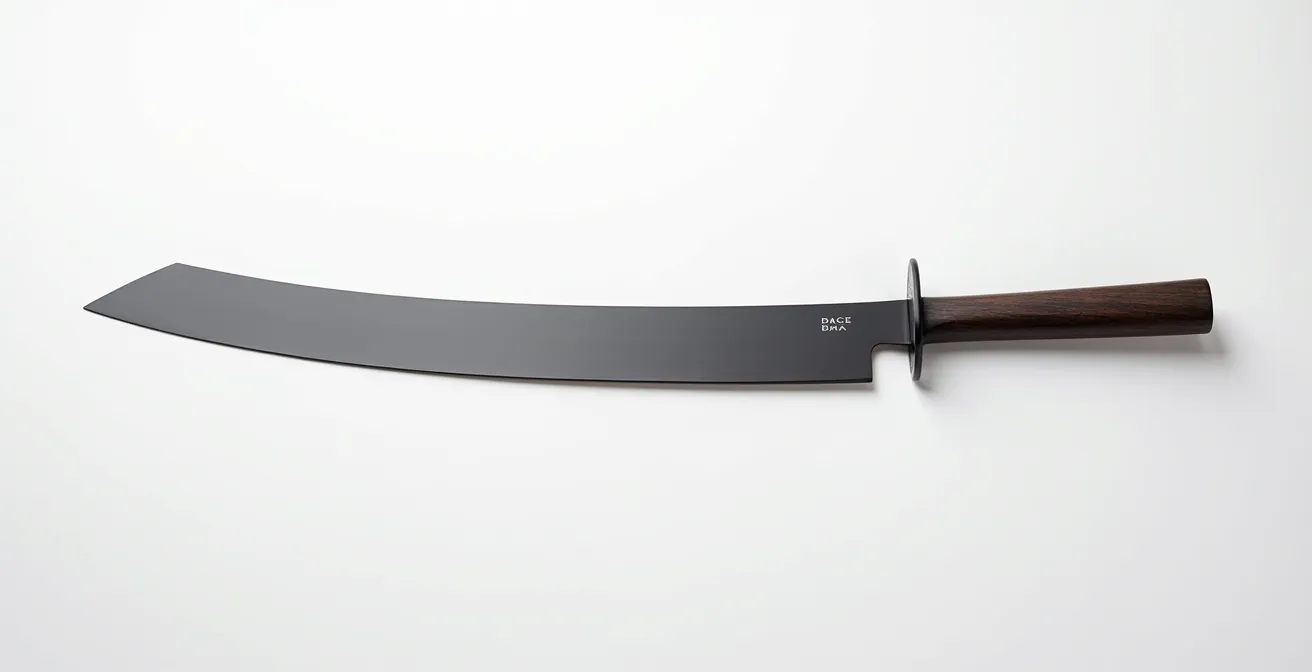
Why Does a Single-Bevel Knife Steer to the Left When You Cut?
The unique geometry of a yanagiba is the source of both its incredible performance and its particular handling characteristics. Unlike a typical Western knife which has a symmetrical V-shaped edge (a double bevel), a yanagiba has a single-bevel design. The front side (omote) has a long, shallow angle leading to the edge, while the back side (ura) is flat and slightly concave. This asymmetric design is what can cause the knife to “steer” during a cut.
As you press down, the flat ura side wants to remain vertical, while the angled omote side pushes the food away from the blade. For a right-handed knife, this creates a natural tendency for the blade to drift slightly to the left. A skilled user learns to counteract this by applying subtle, counter-rotating pressure with their wrist, guiding the blade to cut perfectly straight. It’s a technique that becomes second nature with practice, allowing the user to leverage the blade’s geometry for incredibly fine, precise slices.
The concave hollow on the back of the blade, known as the urasuki, is a brilliant piece of engineering. It serves two purposes: it reduces friction by minimizing the surface area that contacts the food, which helps prevent delicate slices of fish from sticking to the blade. It also makes sharpening easier, as you only need to polish the flat rims of the ura on a high-grit stone, not the entire back surface. However, this concavity is also a critical rust hotspot. It can easily trap moisture or salt if not cleaned and dried with meticulous care, making proper maintenance of the urasuki essential for the blade’s longevity.
How to Organize Your Kitchen Counter for Efficient Sushi Making in 5 Steps?
Proper care for a carbon steel yanagiba is not just about post-use cleaning; it begins with how you organize your workspace. An efficient and safe setup transforms maintenance from an afterthought into an integrated, effortless part of your workflow. The goal is to create a “blade-safe zone” where your knife is protected from the primary dangers of a busy kitchen: water, impacts, and clutter. Professional chefs instinctively use a two-towel system, and this is a habit every home chef should adopt.
By dedicating specific spots for specific actions, you build muscle memory that keeps your blade dry, clean, and safe. This methodical approach, often called *mise en place*, is the foundation of both efficient cooking and effective tool care. Your counter should be organized to facilitate a smooth flow from cutting to cleaning without ever putting the blade at risk. A few simple adjustments to your setup can dramatically reduce the chances of accidental damage or rust.
Here is a five-step process to create the ideal, efficient workspace for sushi making and yanagiba care:
- Designate a Dry Zone: Choose a specific area on your counter, away from the sink’s splash zone, that is exclusively for your yanagiba. This is where the knife rests when not in your hand.
- The Dry Towel Station: Place a folded, perfectly dry towel in this zone. After washing and drying your knife, this is its final resting place. This ensures any residual moisture is wicked away.
- The Wet Towel Station: To the side of your cutting board (the left side for a right-handed user), place a damp, folded towel. Use this to wipe food residue from the blade between cuts, following the “one slice, one wipe” rule.
- The Oiling Kit: Keep your bottle of Tsubaki or mineral oil and a small, clean cloth or paper towel within arm’s reach of your dry zone for easy application at the end of your session.
- Secure Storage: Ensure your knife block or magnetic strip is positioned away from steam, water, and high-traffic areas. The knife should only be put away when it is bone dry.
This deliberate organization makes proper knife care feel less like a chore and more like a professional, ingrained habit. It respects the tool by creating an environment where it can perform at its best without risk.
How to Use the Entire Length of the Blade for Large Slices?
The defining feature of a yanagiba is its long, slender blade, typically ranging from 240mm to 330mm. This length is not for show; it is integral to its function. The goal of a sashimi cut is to slice through the fish in a single, uninterrupted pulling motion, from the heel of the blade to the tip. Pushing the knife back and forth like a saw creates a ragged, bruised surface on the fish. Using the full length of the blade ensures the cleanest possible cut.
Mastering this technique involves more than just motion; it involves a rhythm of cutting and cleaning. The “One Slice, One Wipe” rule is paramount. Fish oils and proteins are catalysts for oxidation. Leaving them on the blade as you make subsequent cuts will not only transfer flavors but also accelerate the formation of patina and potentially rust. Wiping the blade on a damp cloth after every single slice removes these residues, ensuring each cut is as clean as the first and that the chemical dialogue between the steel and the food is controlled.
To properly execute this long-slicing technique and maintain your blade simultaneously, follow this protocol:
- Start at the Heel: Position the food and begin your slice at the heel (the part of the blade closest to the handle).
- Pull, Don’t Push: Draw the knife backward toward you, using gravity and the knife’s own weight to do the work. The goal is to use the entire length of the blade in one fluid pull.
- One Slice, One Wipe: After the slice is complete, immediately wipe both sides of the blade on your designated damp towel before making the next cut.
- Check for Patterns: As you work, periodically glance at your blade. Uneven patina patterns can indicate that you are consistently using only one part of the blade, a sign that your technique may need adjustment.
This technique does more than just produce beautiful sashimi; it is an active form of knife maintenance. By keeping the blade clean throughout the cutting process, you are actively preventing unwanted reactions and ensuring the longevity of your tool. It is the perfect marriage of culinary art and practical science.
Key Takeaways
- Red rust is destructive; a grey/blue patina is a protective shield you should encourage.
- A yanagiba requires ultra-fine grit whetstones (6000+) to create a mirror-polished edge for clean sashimi cuts.
- Immediate blade discoloration from acids is a normal chemical reaction, not damage, and is managed by prompt wiping.
How Preserving Fish Enhances Umami Before Making Sushi?
The art of sushi involves more than just fresh fish. Many traditional preparations, such as shime-saba (cured mackerel) or kobujime (kelp-cured fish), use salt and vinegar to draw out moisture, firm the flesh, and intensify its natural umami flavors. This curing process is a cornerstone of Edomae-style sushi and creates incredibly complex and delicious results. However, from a metallurgist’s perspective, it also introduces the single greatest threat to your carbon steel knife: salt.
While acids cause a visible but often manageable reaction, salt is a far more insidious and aggressive corrosive agent. Saltwater and salt residue create an electrolyte solution on the surface of your blade that dramatically accelerates the electrochemical process of rusting. In terms of corrosive potential, saltwater is rated as extremely corrosive to carbon steel. Slicing a piece of salt-cured fish and failing to clean the blade immediately is the fastest way to invite destructive red rust, which can form in minutes and quickly pit the delicate edge.
This doesn’t mean you must avoid preparing these delicious fish. It simply means you must adopt a non-negotiable, immediate cleaning protocol. The risk is high, but the mitigation is simple. After you have finished slicing any salt-cured or brined ingredient, the knife must be your first priority—before you even plate the fish.
Wash the blade immediately with warm, soapy water to neutralize and remove all salt residue. A simple wipe with a damp cloth is not sufficient in this case. After washing, dry the blade meticulously. Using a paper towel instead of a cloth towel can be more effective as it absorbs moisture completely without leaving any damp fibers behind. Once bone-dry, apply a thin layer of protective mineral or camellia oil. This vigilance is the price of admission for working with these umami-rich ingredients and a high-performance carbon steel tool.
By understanding the language of your blade—from the slow development of a patina to the urgent threat of salt—you transform knife care from a set of rules into a series of informed, confident actions. Start today by organizing your workspace and practicing the simple, respectful habits that will ensure your yanagiba serves you beautifully for a lifetime.