Contrary to popular belief, mastering sushi is not about owning a professional yanagiba knife or accessing expensive tuna; it is about internalizing the discipline of an Itamae (Head Chef).
- The foundation is not ingredients, but an unwavering commitment to hygiene and precise temperature control for every component.
- Progress comes from practicing ‘kata’—repetitive, mindful execution of core skills like rice mixing and slicing—not from simply following recipes.
Recommendation: Begin your journey by mastering the single most important element: the preparation of perfect vinegared rice, or ‘shari’. This is the true heart of sushi.
For the ambitious home cook, the path to authentic sushi often feels blocked by a wall of mystique. You’ve moved past the starter kits, you source the best ingredients you can find, yet the result lacks the soul of what you experience in a true sushi-ya. The common advice—”buy a better knife,” “use fresher fish”—misses the point entirely. These are symptoms, not the root cause. Many believe the craft is inaccessible without years in a Tokyo culinary school or access to a professional kitchen, but this overlooks the fundamental truth of the art form.
The journey of an Itamae is not first and foremost about tools or even ingredients. It is a path of discipline, precision, and a profound respect for process. But what if the true secret to exceptional sushi wasn’t in the equipment you buy, but in the mindset you adopt? What if your kitchen counter could become a dojo, a place for deliberate practice, where you don’t just cook, but cultivate a craft? This is the perspective of the master chef, who knows that the spirit of sushi lies in the flawless execution of fundamentals.
This guide will not give you simple recipes. Instead, it will impart the core principles—the ‘why’ behind the ‘what’—that govern the art of sushi. We will explore how to organize your workspace for flow, the non-negotiable science of temperature, the philosophy behind the perfect slice, and the secrets to creating sublime shari (vinegared rice), the element that a true master values above all else. You will learn to think like an Itamae, transforming your approach from one of assembly to one of craftsmanship.
This article is structured to build your understanding step-by-step, from the foundational mindset to the advanced techniques that define master-level sushi. The following summary outlines the key stages of your new apprenticeship.
Summary: Your Path to Sushi Mastery at Home
- Why Ignoring Kitchen Hygiene Risks Ruining Your Sushi Experience?
- How to Organize Your Kitchen Counter for Efficient Sushi Making in 5 Steps?
- Self-Taught vs. Culinary School: Which Path Leads to Better Sushi Skills?
- The Rice-Mixing Mistake That Ruins Texture for 80% of Beginners
- How to Slice Fish for Maximum Flavor Release Using a Standard Chef Knife?
- Grey Patina or Red Rust: Which One Is Safe on Your Carbon Blade?
- Rice Cooker or Donabe Pot: Which Vessel Keeps Shari at Body Temperature Longer?
- How to Perfect Vinegared Shari Rice Like a Tokyo Itamae in 30 Minutes?
Why Ignoring Kitchen Hygiene Risks Ruining Your Sushi Experience?
In the world of an Itamae, cleanliness is not a preliminary chore; it is an active, continuous part of the craft itself. A beginner sees hygiene as a way to avoid getting sick. A master understands it as the first act of respect toward the ingredients and the guest. The delicate flavors of raw fish and perfectly seasoned shari are easily corrupted. A stray drop of water on a nori sheet, a lingering scent on the cutting board, or microscopic bacterial growth can ruin the subtle balance you work so hard to achieve. This is about preserving purity of flavor, not just about food safety.
The core of this discipline is temperature control. Raw fish is not just “kept cold”; it is maintained in a state of pristine preservation. Any deviation can compromise its texture and taste. The same principle applies to rice. Food safety guidelines are clear: bacteria that produce toxins multiply rapidly in the temperature danger zone. Indeed, 41°F to 135°F enables toxin production, a range that can be easily entered in a home kitchen. An Itamae doesn’t just know this rule; they feel it. They are constantly aware of the temperature of their hands, their tools, and every single ingredient. This is not paranoia; it is the foundational discipline upon which all great sushi is built. Ignoring it means you are not making sushi; you are simply assembling cold fish and rice.
Therefore, before a single grain of rice is washed, the Itamae’s first step is to create a sanctuary of cleanliness—a testament to their dedication to the art.
How to Organize Your Kitchen Counter for Efficient Sushi Making in 5 Steps?
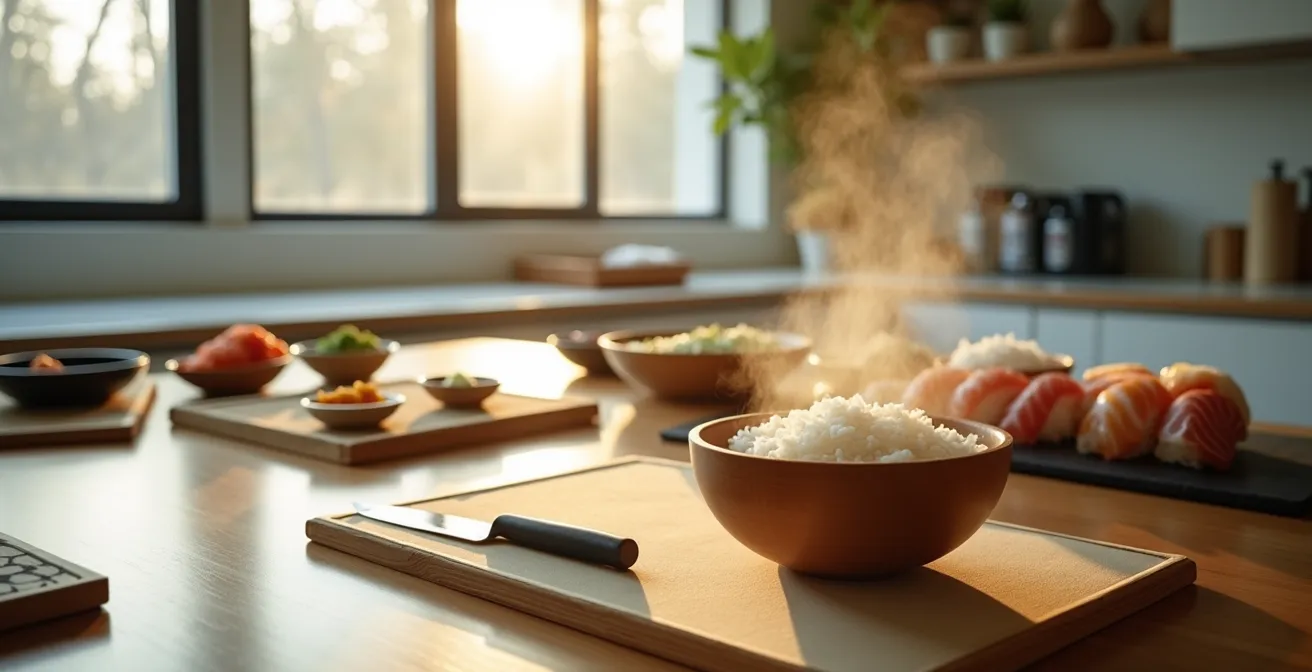
Your kitchen counter is your stage. A cluttered, inefficient workspace leads to hesitation, wasted movement, and, most critically, a breakdown in temperature discipline. An Itamae organizes their station not for convenience, but for flow and precision. This systematic approach, honed through years of repetition, is a form of ‘kata’—a practiced sequence that becomes second nature. A professional chef’s workflow analysis shows that simple, deliberate placement choices can reduce preparation time by as much as 30%. For instance, knives are always placed edge-away at the top of the cutting board for safety and immediate access. The non-cutting hand adopts a “paw” shape with curled fingers to guide the blade, making injury nearly impossible.
This principle of “a place for everything, and everything in its place” is paramount. Your damp cloth for wiping the knife, your bowl of tezu (hand vinegar water), your bamboo mat—each has a designated spot. This organization isn’t about tidiness; it’s about eliminating thought from the process of reaching, allowing your full concentration to remain on the knife’s edge and the feel of the rice. Your setup should create distinct temperature zones. As this comparative table shows, each ingredient has its own strict requirement.
| Ingredient | Optimal Temperature | Storage Method |
|---|---|---|
| Raw Fish | Below 41°F | On ice or chilled plate |
| Sushi Rice | Body temperature (98°F) | Insulated bowl |
| Nori Sheets | Room temperature | Dry container away from steam |
Your counter should reflect this reality: a chilled area for fish, an insulated spot for the shari, and a dry zone for nori and other implements. This conscious separation is the physical manifestation of the Itamae’s mental discipline.
By transforming your counter from a simple surface into a structured workspace, you begin to move, think, and act with the economy of motion of a true craftsman.
Self-Taught vs. Culinary School: Which Path Leads to Better Sushi Skills?
The allure of a culinary school certificate is strong, but in the world of sushi, the path to mastery is measured in repetition, not tuition. The truth is that no school can bestow the intuitive understanding that comes from practice. The traditional apprentice learns by observing and doing, over and over, for years. In fact, traditional Japanese sushi chef training requires a commitment that can span a decade before one is considered a true Itamae. For the first few years, an apprentice might do nothing but wash and cook rice. This isn’t a slow curriculum; it’s a deep immersion into the single most important element of the craft.
The self-taught path, when pursued with discipline, can be more aligned with this traditional spirit than a condensed program. It forces you to become your own master, to be more observant, more critical, and more attuned to the feedback your ingredients give you. It is a journey of personal discovery, as noted by one dedicated home cook who pursued formal training after years of self-study. As Daniel, a student at the Master of Japanese Cuisine Academy, reflects:
I thought that I already knew a lot of things about sushi, but after taking this program, I realized that I didn’t.
– Daniel, Hobby Cook, Master of Japanese Cuisine Academy Student Testimonial
This realization is the hallmark of a true apprentice: the more you learn, the more you understand how much there is to master. The key is not where you learn, but how you practice. The secret is ‘kata’—the deliberate, repetitive practice of a single skill until it becomes an unconscious, perfected motion.
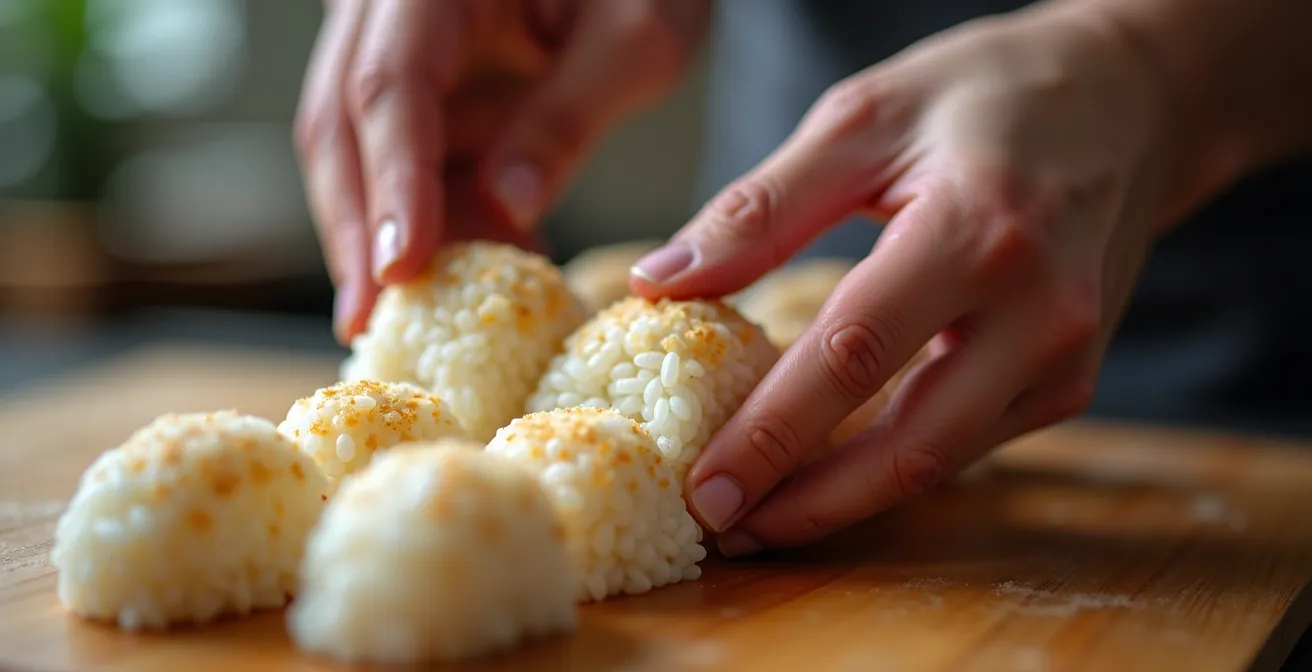
As shown in the focused act of shaping rice, mastery is not a destination but a continuous process of refinement. Whether you are self-taught or formally trained, this commitment to mindful repetition is the only path that leads to true skill. Your kitchen is your dojo. The goal is not to get a certificate, but to perfect your ‘kata’.
Choose the path of discipline, and you will surpass those who merely seek a diploma. The rice and fish will be your teachers, and your hands will be your certificate.
The Rice-Mixing Mistake That Ruins Texture for 80% of Beginners
For most beginners, mixing sushi rice is an afterthought—a simple matter of pouring vinegar over rice and stirring. This is the single greatest mistake, responsible for gummy, mushy, or bland rice. An Itamae does not “stir” rice; they perform shari-kiri, a precise cutting and folding motion. The goal is to coat every single grain with the seasoned vinegar (sushizu) while rapidly cooling it to halt the cooking process and achieve a glossy sheen known as ‘teru’. Stirring crushes the delicate grains, releasing excess starch and creating a paste-like texture. Shari-kiri, performed with a wooden paddle (shamoji), preserves the integrity of each grain.
The second critical error is temperature. The vinegar mixture must be incorporated while the rice is steaming hot. Hot rice is porous and absorbent; its starches are gelatinized and ready to bond with the vinegar. If you wait for the rice to cool, the vinegar will merely sit on the surface, resulting in a harsh, acidic taste and a wet texture. The rapid cooling that follows, traditionally done in a wide, flat-bottomed wooden bowl (hangiri), allows excess moisture to evaporate evenly, creating the perfect balance of flavor and texture. This process is a foundational ‘kata’ for any aspiring sushi chef.
Action Plan: Mastering the Shari-Kiri Rice Mixing Technique
- Use a wooden paddle to mix with a slicing and cutting motion (shari-kiri), never stirring, to protect the grains.
- Pour the vinegar solution over the rice while it is still hot (above 135°F) for maximum absorption and proper seasoning.
- Cool the rice rapidly in a wide, flat-bottomed bowl, fanning as you mix to achieve an even temperature and glossy finish.
- Allow the finished shari to rest, covered with a damp cloth, for 5-10 minutes to let the flavors meld and the texture stabilize.
- Prepare a bowl of Tezu (vinegar-spiked hand water) to dip your hands in before shaping, preventing the rice from sticking.
This technique is not merely about taste; it is a critical food safety step. The acidification of the rice makes it safe to hold at room temperature for short periods, a cornerstone of professional sushi preparation.
By mastering the shari-kiri ‘kata’, you move from being someone who follows a recipe to someone who understands the science and art of creating perfect shari.
How to Slice Fish for Maximum Flavor Release Using a Standard Chef Knife?
The belief that you need an expensive, single-bevel yanagiba to slice fish for sushi is a myth that serves retailers more than cooks. While specialized knives are tools of refinement, the foundational principle of the cut—the hikigiri, or “pull-cut”—can be executed with a sharp, standard chef’s knife. The mistake beginners make is using a sawing motion, like cutting bread. This shreds the delicate muscle fibers of the fish at a cellular level, causing it to lose its firm texture, become watery, and release its umami. A sawing motion creates a dull, rough surface that repels soy sauce rather than holding it.
The hikigiri technique is a single, long, and continuous pull stroke. You use the full length of the blade, starting from the heel and finishing at the tip. The knife glides through the fish with its own weight, doing the work for you. There is no downward pressure. This clean cut creates a perfectly smooth, glossy surface that maximizes flavor and preserves texture. A study of this method shows it can maintain fish texture 40% better than sawing motions. For sashimi, the angle of the blade is typically 45 degrees; for pieces destined for nigiri, a gentler 30-degree angle is often used.

As this image demonstrates, the pull-cut is an act of grace and precision. It is a ‘kata’ that requires focus and a steady hand. Your chef’s knife, when properly sharpened, is more than capable of this task. The goal is to respect the ingredient. By slicing it cleanly, you are honoring the life of the fish and preparing it to deliver its maximum potential flavor to the palate. This is a philosophy that transcends the tool you are holding.
Practice the hikigiri on a cucumber or a tomato to build muscle memory without sacrificing expensive fish. When you master the pull-cut, you will understand that the quality of the slice comes from the chef, not from the knife.
Grey Patina or Red Rust: Which One Is Safe on Your Carbon Blade?
For the serious craftsman who invests in a high-carbon steel knife—prized for its superior edge retention—a moment of panic often arrives with the first sign of discoloration. But not all oxidation is created equal. It is crucial to distinguish between a destructive force and a protective shield. Red rust (ferric oxide) is your enemy. It is porous, flaky, and actively corrodes the metal, weakening the blade and potentially contaminating your food with a harsh metallic taste. Red rust must be removed immediately.
A blue-grey or black patina (magnetite), however, is a sign of a well-cared-for blade. It is a stable, non-reactive layer of oxidation that forms on the surface of the steel, acting as a protective barrier against the more destructive red rust. A good patina is earned. It tells the story of the knife’s work. More importantly, it makes the blade less reactive to acidic or fatty ingredients, preventing any metallic taste from transferring to delicate white fish or vinegared rice. This is particularly relevant in sushi preparation, where vinegar solutions naturally create a pH below 4.6, an environment that inhibits bacteria but can be reactive with bare steel.
You can even encourage a food-safe patina to form. By wiping your blade with a vinegar-soaked cloth during preparation, or by cutting acidic foods, you create a controlled oxidation process. This proactive care transforms your knife from a simple tool into a living extension of your craft, seasoned and protected by its history of use. Understanding this distinction is a mark of an advanced practitioner who appreciates the chemistry of their tools, not just their sharpness.
Embrace the patina. It is not a flaw to be polished away, but a badge of honor for both the chef and the blade.
Rice Cooker or Donabe Pot: Which Vessel Keeps Shari at Body Temperature Longer?
While a modern rice cooker offers convenience and consistency, the traditional Itamae understands that the vessel used for cooking and holding the shari is a critical tool for temperature discipline. The ultimate goal for nigiri is to serve the rice at or near human body temperature (around 98°F). This warmth enhances the flavor of the vinegar, softens the texture of the grain, and creates a sublime, melt-in-your-mouth contrast with the cool fish. A standard electric rice cooker with a “keep warm” function often holds the rice at a much higher temperature (around 140°F), which can dry it out and overcook it over time.
This is where a traditional earthenware pot, or donabe, excels. The thick clay walls of a donabe provide superior insulation, retaining heat gently and evenly. Once the shari is mixed and has rested, it can be transferred to an insulated container, often a traditional wooden one called an ‘ohitsu’, or even back into a clean donabe. The vessel doesn’t actively heat the rice; it passively maintains its temperature, allowing it to cool slowly and naturally toward the ideal body temperature without drying out. This gentle heat retention is far superior to the aggressive heating element of a rice cooker.
This obsession with the temperature of the rice may seem extreme, but it is the very heart of the craft. As the legendary Chef Masaharu Morimoto states, it is the foundation upon which everything else is built. He famously noted that good vinegared rice is the most critical component.
Sushi chefs know good vinegared rice is more important to top-quality sushi than even the most expensive tuna belly.
– Chef Masaharu Morimoto, Kvaroy Arctic Sushi Guide
Choosing a vessel like a donabe or an insulated bowl over a rice cooker’s “keep warm” function is a conscious decision to prioritize the quality of the shari above all else. It is a commitment to controlling the final, most crucial variable.
By focusing on how to maintain the shari’s perfect warmth, you are focusing on the soul of sushi.
Key Takeaways
- The Itamae mindset is built on discipline and respect for the process, not on expensive equipment.
- Mastery comes from the deliberate practice of ‘kata’ (core skills), particularly in preparing shari and slicing fish.
- Precise temperature control at every stage—for fish, rice, and hands—is the non-negotiable foundation of quality sushi.
How to Perfect Vinegared Shari Rice Like a Tokyo Itamae in 30 Minutes?
Perfection in shari is the culmination of all the principles we have discussed: hygiene, temperature discipline, and precise technique. It is a ‘kata’ that integrates multiple steps into a seamless flow. A leading institution like the Tokyo Sushi Academy, which has trained over 4,000 students since 2002, built its entire curriculum around a three-temperature principle for making shari: hot rice, room-temperature vinegar, and a cool mixing environment. This method ensures the rice starches gelatinize correctly, absorb the vinegar fully, and then cool rapidly to produce the signature ‘teru’—a glossy sheen that indicates perfectly seasoned and textured rice.
To achieve this at home, you must be methodical. The process begins with perfectly cooked, steaming hot rice, ideally reaching a temperature above 135°F. The seasoned vinegar, prepared in advance and allowed to cool to room temperature, is then poured evenly over the hot rice. The contrast in temperatures is critical. Immediately, using a cutting and folding shari-kiri motion, you integrate the vinegar while simultaneously fanning the rice to cool it down. This rapid evaporation of moisture is what creates the ‘teru’ and prevents the rice from becoming soggy. The final pH should be around 4.2 or below, which provides both the characteristic tang and microbial safety.
Once mixed, the rice must rest, covered with a damp cloth, for five to ten minutes. This allows the moisture and flavor to equalize throughout each grain. Only then is the shari ready for shaping. This 30-minute process, from cooked rice to finished shari, is a ritual. It is a concentrated exercise in temperature management and gentle handling. It is the final exam of your apprenticeship and the true beginning of your journey as a sushi craftsman.
Embrace this ritual not as a chore, but as the central discipline of your craft. When you can consistently produce perfect shari, you have earned the right to call yourself a sushi artisan.
Frequently Asked Questions on How to Master Japanese Sushi Craftsmanship at Home Without Professional Training?
What is the difference between safe patina and harmful rust?
Blue-grey patina (magnetite) is a protective, stable oxidation that prevents metallic taste transfer. Red rust (ferric oxide) is porous and destructive, potentially contaminating food.
How can I force a food-safe patina on my carbon blade?
Wipe the blade regularly with a vinegar-soaked cloth during sushi preparation. The acidic environment creates a controlled patina that makes the blade less reactive to fish oils.
Is it safe to use a patinated blade for sushi preparation?
Yes, a well-formed patina is desirable as it prevents metallic taste from transferring to delicate ingredients like white fish or rice.